Auto-Upload
As you work through configuration and execution of Auto-Upload, notice how it is designed in a way to make Cloudinary the "source of truth".
Exercise: Configure Auto-Upload
You can set up multiple mappings between external assets and a local Cloudinary directory. You can maintain the folder structure underneath the path mapped to the Cloudinary directory. For example, in this repo, there are 3 directories below the /assets directory: images, video, and raw. There is also a directory named assets-secure which is supposed to simulate images that you wouldn't want publicly shared.
Mapping a Cloudinary directory to a remote server path
Open Settings: Upload
Locate Auto Upload Mapping
Choose a name for a local folder in your Cloudinary account: remote-media.
Enter a URL (can include path) to map to your Cloudinary Folder https://cloudinary-training.github.io/advanced-concepts/assets/ . Notice the name doesn't match the remote name
/assets. You can make it match if you want to.
You mapping should look like this:

- Save the settings
In summary, we've designated a Cloudinary directory named remote-assets to map to the assets directory of our online repo server. The remote-media folder won't be created until you request something from it.
node utoupload-fetch/autoupload/create-upload-url.js
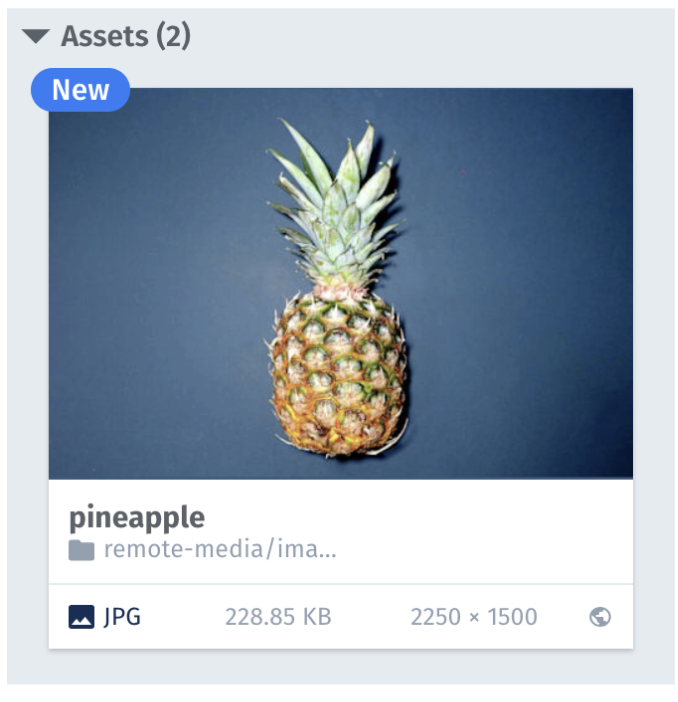
When we open the URL created in the script below, we'll automatically create the remote-media directory
with an images subdirectory containing the pineapple image.
const url = cloudinary.url('remote-media/images/pineapple.jpg')open(url)
The URL should look like the one below. The remote-media is positioned just as the directory structure in the Media Library shows it.
http://res.cloudinary.com/cloudinary-training/image/upload/v1/remote-media/images/pineapple.jpg

Exercise: Raw Auto-Upload
In this exercise, we're uploading JSON. The raw subdirectory is uploaded and the data is of type JSON.
node autoupload-fetch/autoupload/file-types/autoupload-raw.js
const url = cloudinary.url('remote-media/raw/data.json', {resource_type: 'raw',secure: true})

Exercise: Video Auto-Upload
Now we're going to upload a video.
node autoupload-fetch/autoupload/file-types/autoupload-video.js
We'll see that this video has been uploaded to the video directory underneath remote-media.
const url = cloudinary.url('remote-media/video/rooster.mp4', {resource_type: 'video',secure: true})
We can see some differences between Fetch and Auto-Upload:
1. Auto-Upload can be used to upload all resource types and Fetch can only be used to upload images
2. With Auto-Upload the original asset's directory structure can be maintained if the mapping is done in such a way as to reference to a higher level directory.
3. Auto-Upload images use standard delivery types where Fetched images use the Fetch delivery type.
Exercise: Auto-Upload Secure Images
We can use the restrictive delivery types with Auto-Upload. We'll see how to upload with a private delivery type here but authenticated could be setup in the same way.
Just to keep assets logically separate, we're going to create a new mapping called remote-media-secure that is mapped to the assets-secure directory.
- Open Settings: Upload
- Locate Auto Upload Mapping
- Click on the link to Add another mapping
- Choose a name for a local folder in your Cloudinary account: remote-media-secure
- Enter a URL to map to your Cloudinary Folder https://cloudinary-training.github.io/cld-advanced-concepts/assets-secure/`

Now we can execute the script that will upload images as private by setting the option type: 'private'. When this URL is opened a new directory named remote-media-secure will be created the uploaded image will be private.
node autoupload-fetch/autoupload/autoupload-type-private.js
const url = cloudinary.url('remote-media-secure/cherries.jpg',{type: 'private',secure: true,resource_type: 'image',sign_url: true})open(url)
