Auto-Upload Preset
Exercise: Auto-Upload with Preset
Presets are very useful for automating work-flow. The same instruction set can be executed on all uploaded asset that use the same preset. You can configure an upload preset for Auto-Upload assets.
We're going to create a new mapping that creates an image only directory and then we're going to create an upload preset that applies instructions to all images in that directory. We'll start by creating a new mapping, which will result in a new directory in Cloudinary. This new directory will be called remote-images. Notice that we are drilling down to the assets/images directory on the remote server.
- Open Settings: Upload
- Locate Auto Upload Mapping
- Click on the link to Add another mapping
- Choose a name for a local folder in your Cloudinary account: remote-images
- Enter a URL to map to your Cloudinary Folder https://cloudinary-training.github.io/cld-advanced-concepts/assets/images`
You can execute this script to create the preset.
node autoupload-fetch/autoupload/preset/create-preset.js
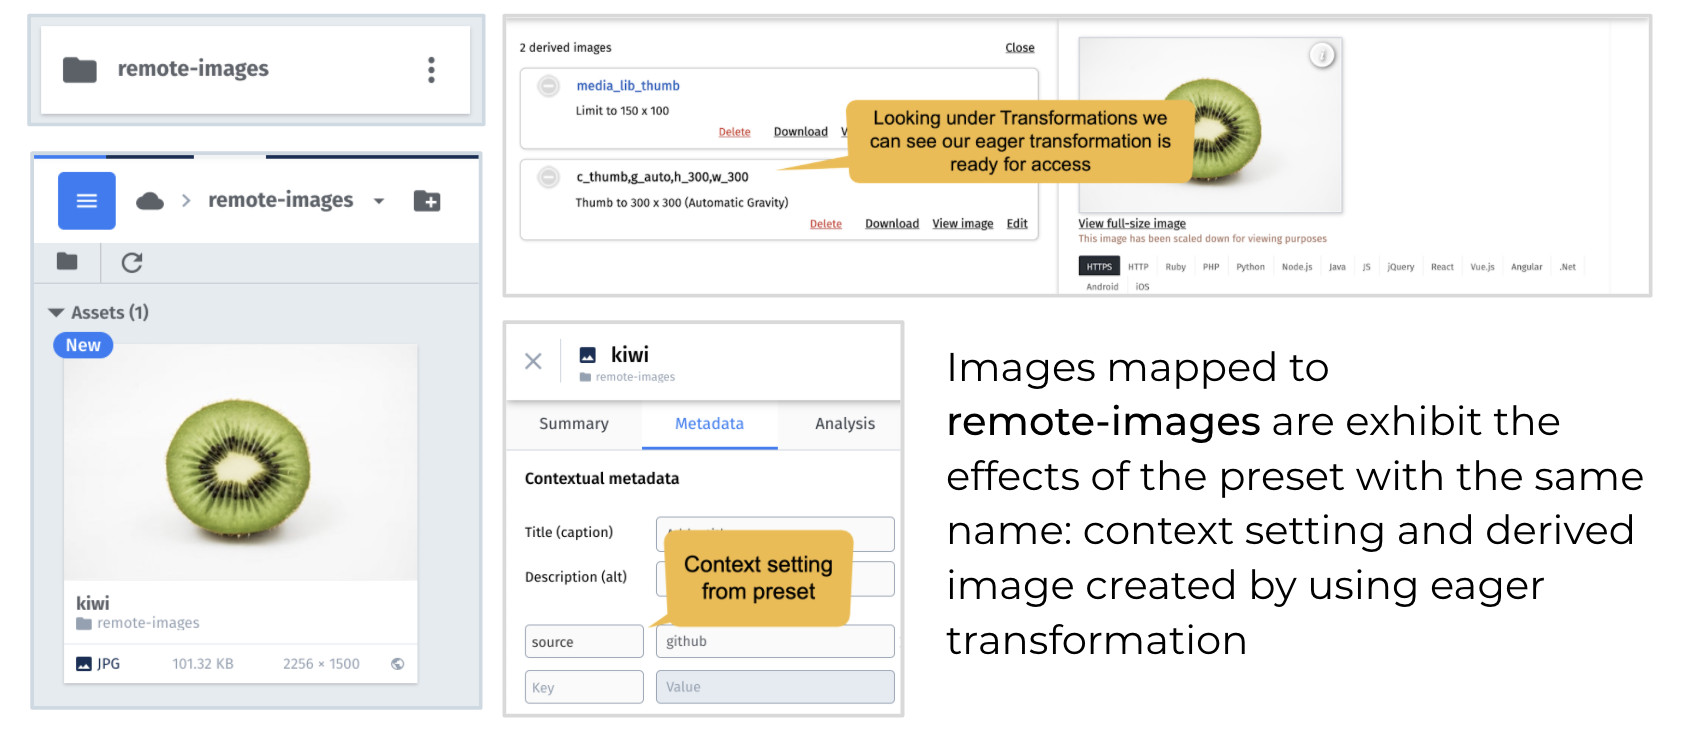
You can see that we are going to use the filename as the public id. We're providing a key/value pair for context that will show up in the metadata section of the Media Library for any asset using this preset. We're also created a derived transformation eagerly.
cloudinary.api.create_upload_preset({name: 'remote-images',use_filename: true,unique_filename: false,unsigned: false,context: 'source=github',eager: {transformation: [{crop: 'thumb',height: '300',width: '300'},{gravity: 'auto',fetch_format: 'auto'}]}})
Notice that in green, it says that it will be used by remote-images Auto-Upload Mapping. If you want to add a preset to an Auto_Upload, just name the preset the same name as the mapped directory.
Now we'll use the preset in an upload
node autoupload-fetch/autoupload/preset/autoupload-image-after-creating-preset
const url = cloudinary.url(cloudinary.url('remote-images/kiwi.jpg'))open(url)
