Image Upload Workflows
 Edit on GitHub
The objectives below represent solutions to problems that have been asked about by Cloudinary customers. We'll work through solutions to each of these problems.
- Create animation from static images
- Create responsive signed images
- Use an API that will list all assets with the same SKU
- Sharing a set of large images
- Remote Functions
Animation
Use Case: You want a carousel-like gif that scrolls through a set of images.
The multi method to easily turn a set of images into a gif or animation format that resembles an image carousel gather images based on a shared tag.
- control the delay between transitions from one image to the next
- images are ordered based on alphabetical order of public ids
- large images not allowed so use compression before creating the gif
3 step process
- Create an upload prest that will crop and compress the images we want to use for this animation. We'll add a tag to each of them so that they can be gathered up for the animation. We'll use the filename as the public id. You may want to consider an id naming scheme if you want to enforce a particular order.
Exercise: This preset will add the tag: "sea-life" to all uploads. We'll also crop and compress all images.
node user-upload-workflow/animation/create-preset.js
cloudinary.api.create_upload_preset({name: 'sea-life-preset',use_filename: true,unique_filename: false,unsigned: false,transformation: [{width: 400,height: 300,crop: 'fit'},{fetched_format: 'auto',quality: 'auto'}],tags: 'sea-life',allowed_formats: 'jpg'})
- Upload the set of images from local drive using the preset.
node user-upload-workflow/animation/upload-images-for-transformation.js
const assets = ['./assets/images/dolphin.jpg','./assets/images/goldfish.jpg','./assets/images/koi.jpg','./assets/images/shark.jpg','./assets/images/killer-whale.jpg']for (const asset of assets) {cloudinary.uploader.upload(asset, {upload_preset: 'sea-life-preset'}).then(uploadResult => console.log(uploadResult)).catch(error => console.error(error))}
Which image will show up first in the animation?
- Use the multi method to create the .gif file in the cloud. The multi method is part of the Upload API. It looks for a specified tag and creates a gif using that tag as it's name.
node user-upload-workflow/animation/create-animation-delay.js
We're add a 2 second delay expressed in milli-seconds.
cloudinary.uploader.multi('sea-life', { delay: 2000 }).then(result => {console.log(result)open(result.secure_url)}).catch(error => {console.log(error)})
Voila!

Responsive Signed Images
Use Case: You want to use private or authenticated delivery types to create a set of signed responsive images.
Recall that the signature is based on the public id and the transformations. When creating URLs for responsive images, they will have unique sizes based on the number of devices and their pixel support. The responsive option can create these transformations for you, but they must be signed after they are generated.
We'll create, sign and test in 3 steps:
- Upload the image with the responsive_breakpoints parameter. In the parameter you can specify min and max width as well as step size. You can add other incoming transformations as well.
node user-upload-workflow/signed-responsive/upload-create-signed-urls.js
The responsive_breakpoints option allows us to create a set of URLs based on min and max width with a byte_step. By adding the sign_url:true option, we can generate a set signed, derived URLs that are accessible in the response.
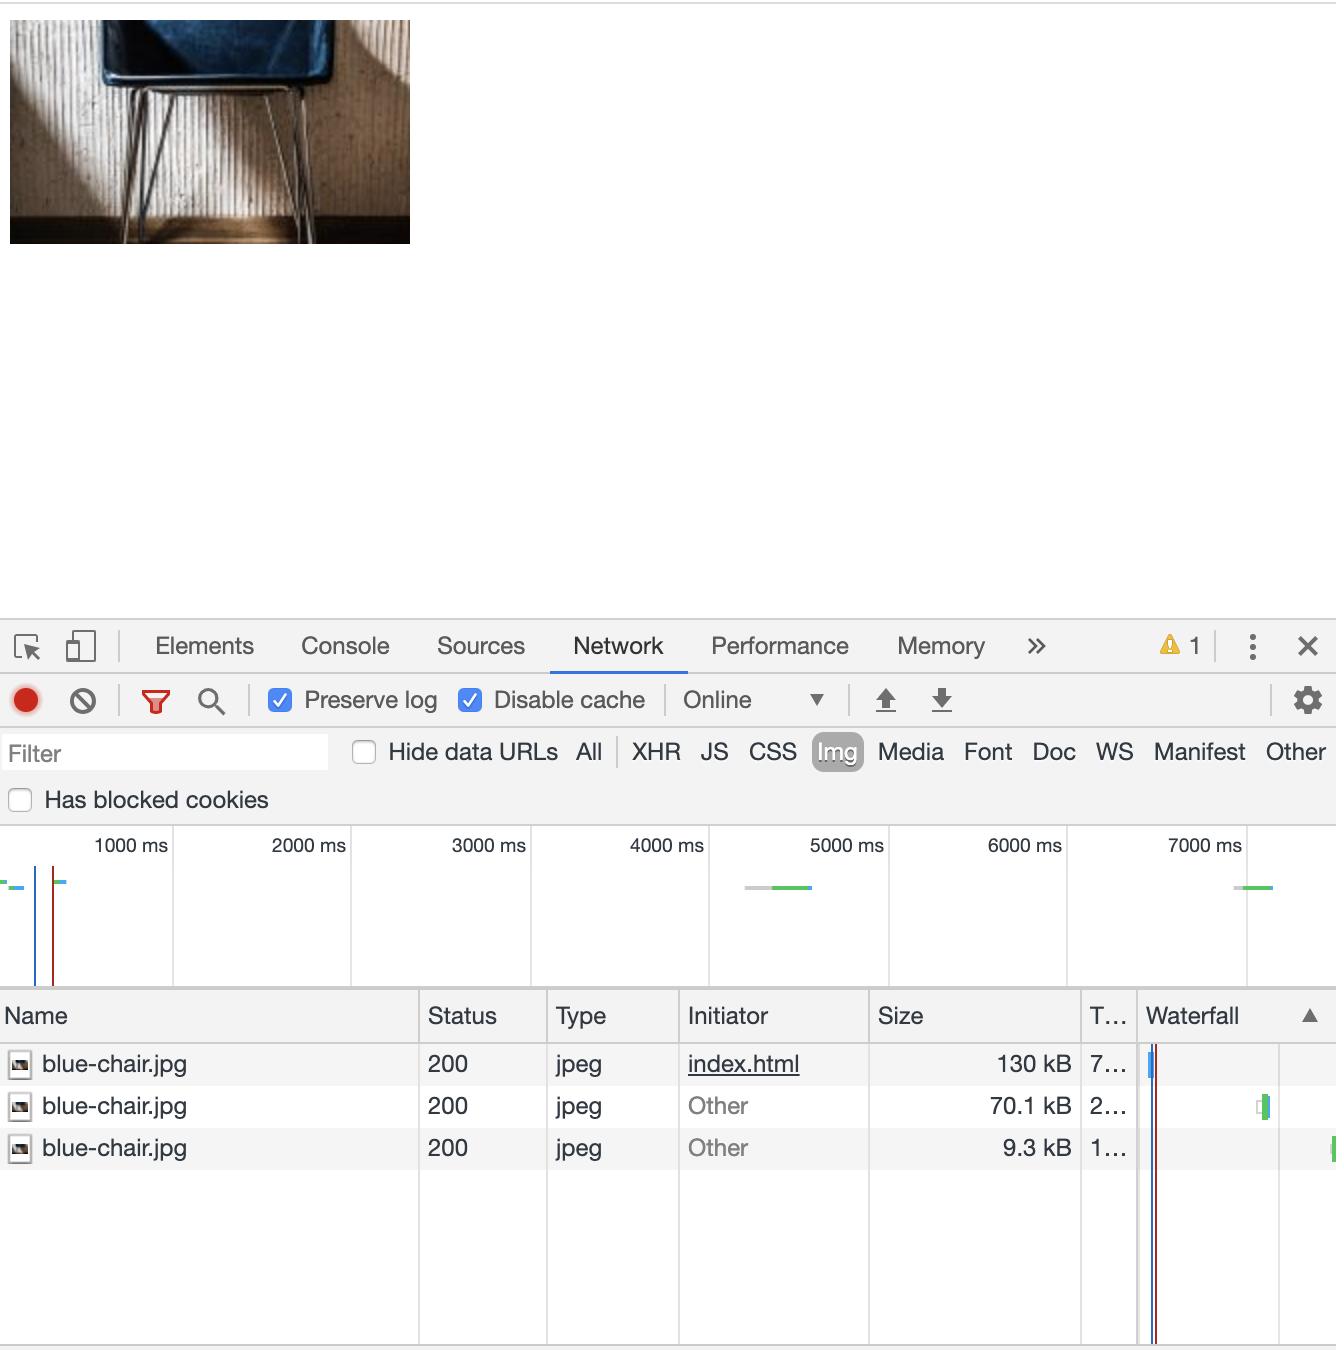
cloudinary.uploader.upload('./assets/images/blue-chair.jpg', {public_id: 'blue-chair',type: 'authenticated',invalidate: true,sign_url: true,responsive_breakpoints: {create_derived: true,bytes_step: 20000,min_width: 200,max_width: 1000,transformation: { crop: 'fill', aspect_ratio: '16:9', gravity: 'auto' }}})
- Extract URLs from array of signed urls and use in the
srcsetof your picture tag.
We log the URLs obtained from the responsive_breakpoints array in the response.
.then(result => {console.log(result)const urls = result.responsive_breakpoints[0].breakpoints.map(item => item.secure_url)console.log(urls)}).catch(error => console.log(error))
The set of URL's look like this:
["https://res.cloudinary.com/cloudinary-training/image/authenticated/s--R44wFa4H--/ar_16:9,c_fill,g_auto/c_scale,w_1000/v1586049070/blue-chair.jpg","https://res.cloudinary.com/cloudinary-training/image/authenticated/s--L-_A0Qli--/ar_16:9,c_fill,g_auto/c_scale,w_984/v1586049070/blue-chair.jpg","https://res.cloudinary.com/cloudinary-training/image/authenticated/s--ENxMLGnv--/ar_16:9,c_fill,g_auto/c_scale,w_876/v1586049070/blue-chair.jpg","https://res.cloudinary.com/cloudinary-training/image/authenticated/s--L6OUUBLF--/ar_16:9,c_fill,g_auto/c_scale,w_758/v1586049070/blue-chair.jpg","https://res.cloudinary.com/cloudinary-training/image/authenticated/s--O98zP3cH--/ar_16:9,c_fill,g_auto/c_scale,w_616/v1586049070/blue-chair.jpg","https://res.cloudinary.com/cloudinary-training/image/authenticated/s--pmLC6hpC--/ar_16:9,c_fill,g_auto/c_scale,w_437/v1586049070/blue-chair.jpg","https://res.cloudinary.com/cloudinary-training/image/authenticated/s--ml_xOQob--/ar_16:9,c_fill,g_auto/c_scale,w_200/v1586049070/blue-chair.jpg")]
- In the next step we select some or all of the signed URL's add render them in a web page. You can test this by adding the URL's to the
<source>tags in a<picture>tag.
<picture><sourcemedia="(min-width: 1000px)"srcset="https://res.cloudinary.com/cloudinary-training/image/authenticated/s--R44wFa4H--/ar_16:9,c_fill,g_auto/c_scale,w_1000/v1586049070/blue-chair.jpg"/><sourcemedia="(min-width: 700px)"srcset="https://res.cloudinary.com/cloudinary-training/image/authenticated/s--L6OUUBLF--/ar_16:9,c_fill,g_auto/c_scale,w_758/v1586049070/blue-chair.jpg"/><sourcemedia="(min-width: 1px)"srcset="https://res.cloudinary.com/cloudinary-training/image/authenticated/s--ml_xOQob--/ar_16:9,c_fill,g_auto/c_scale,w_200/v1586049070/blue-chair.jpg"/><img src='https://res.cloudinary.com/cloudinary-training/image/authenticated/s--R44wFa4H--/ar_16:9,c_fill,g_auto/c_scale,w_1000/v1586049070/blue-chair.jpg' alt="blue chair"/></picture>
After you add your derived URLs to the the web page, open it in the browser and inspect the network tab. If you shrink your viewport, you'll see the appropriate images rendered based on viewport size.
In the example, where only 3 signed responsive images were added to the index.html, you can see that there are 3 different sized images rendered as the windows was dragged from full screen to a minimum width.
List Assets Per Tag
We can list all asset with the same tag using an API.
Use case: We are uploading multiple images and/or video with the same product. We want to be able to get a list of all assets with the same SKU.
We start by uploading a set of assets and assigning them the same tag. In this example we have 2 images of the same product and we add tags containing the SKU that represents the product to each image in a tag.
node user-upload-workflow/list-assets-per-sku/upload-images-with-skus.js
You can imagine that the SKU data below comes from an external PIM (Product Information System).
const data = {description: 'Black Zebra Purse',sku: 'sku12345',assets: ['./assets/images/black-purse-1.jpg','./assets/images/black-purse-2.jpg']}for (const asset of data.assets) {cloudinary.uploader.upload(asset, {use_filename: true,unique_filename: false,tags: data.sku}).then(uploadResult => {console.log(uploadResult)open(uploadResult.secure_url)}).catch(error => console.error(error))}
With product tagged by SKU we simply apply the SKU to the tag gathering API.
node user-upload-workflow/list-assets-per-sku/get-asset-list-per-sku.js
This API returns a JSON file with all of the information about items containing the tag.
const data = {sku: 'sku12345'}const api = `https://res.cloudinary.com/cloudinary-training/image/list/${data.sku}.json`open(api)
The data returned in a browser request for this example will look like this:
{"resources": [{"public_id": "black-purse-2","version": 1585163079,"format": "jpg","width": 3300,"height": 2479,"type": "upload","created_at": "2020-03-25T19:04:39Z"},{"public_id": "black-purse-1","version": 1585163077,"format": "jpg","width": 3300,"height": 2803,"type": "upload","created_at": "2020-03-25T19:04:37Z"}],"updated_at": "2020-04-10T17:26:38Z"}
You can pull together a set of assets by tag with this API.
Sharing Photos
Use Case: You’re working with a photographer who has a set of photos that the design team wants to look at while designing a website. The photographer would like to apply a water mark to the images before sharing.
We'll look at 3 steps to achieve this.
- Provide a preset that allows the photographer to upload the set as compressed images with a watermark.
Upload the logo to be used as as a watermark. The preset also places all the images in their own folder and tags them. This tag will help in creating the sharable zip file.
node user-upload-workflow/share-images/upload-logo.js
Create the preset
node user-upload-workflow/share-images/create-preset
cloudinary.api.create_upload_preset({name: 'photo-share',use_filename: true,unsigned: false,tags: 'photo-share',folder: 'photo-share',transformation: [{crop: 'fit',width: 400,height: 300},{overlay: 'logo-big',width: 100,gravity: 'south_east',opacity: 50},{quality: 'auto',fetch_format: 'auto',dpr: '2.0'}]})
- Incorporate the upload that uses this preset into a script that creates a zip file of these images that can be mailed or setup as a link on a web page.
node user-upload-workflow/share-images/upload-images.js
In the script below, we're specifying only 2 images. All images will be compressed and watermarked by the photo-share preset instructions.
const uploadImage = async filename => {try {const response = await cloudinary.uploader.upload(filename, {upload_preset: 'photo-share'})const publicId = response.public_idconsole.log(`uploaded: ${publicId}`)return response.public_id} catch (error) {console.log('uploadImage error', JSON.stringify(error, null, 1))throw new Error(error)}}const photos = ['./assets/images/dolphin.jpg', './assets/images/goldfish.jpg']for (const photo of photos) {uploadImage(photo)}
- Execute a command to create a zip archive. This archive will be loaded onto the cloud and can be shared as a link.
node user-upload-workflow/share-images/create-archive.js
The create_zip command looks for a tag that was added to every image because of the preset used for upload.
cloudinary.uploader.create_zip({tags: 'photo-share',resource_type: 'image'})

Remote Functions
Use Case: You have created a function that accepts an image file, transforms it, and returns base64 encode image. You want to add it to a chained transformation.
Cloudinary provides way to create external transformations using Custom Functions which can take 2 forms:
- Web Assembly Functions which are written in a high level language, compiled to WASM, and delivered from the Cloudinary cloud.
- Remote functions are written in JavaScript and made available via an API
In this course we’ll look at creating, deploying and delivering Remote Functions. These functions can be implemented in a Web API or as a Lambda serverless function. If you use Lambda, you'll want an API Gateway because you'll be posting a multipart form containing your image file data.
We'll use the JavaScript libraries, imagemagik to add a date string overlay transformations. You can run the server transformation code locally for development, but you must deploy it to the internet to call it as a remote function. In this exercise, it's deployed to heroku as a web API.
To run server locally:
cd user-upload-workflow/remote-functionnpm inode app
The easiest way to test this function locally is using Postman. In the picture below, you can see that this is setup as
- local URL for API is
http://localhost:5000/api/file - POST
- Body is
form-data - key for input is
filewhich will allow you to select a local file
When you sen the post, you should get back the transformed image as binary.
Upload file
Upload a file before testing transformation. This file will already exist in your cloud if you're running the modules in sequence.
node user-upload-workflow/remote-functions/upload-image.js
Calling the remote function
We have function already deployed to heroku at this address: https://secure-caverns-90265.herokuapp.com/api/file. If you call https://secure-caverns-90265.herokuapp.com/ with a GET (from the browser), it will inform you that you need to post to the /api/file route.
We can start by accessing this function.
node user-upload-workflow/remote-functions
The code to create a URL that includes a remote function must sign the URL. This is a chained transformation because we add a border to the transformation provided by the remote function.
const url = cloudinary.url('shell', {sign_url: true,transformation: [{custom_function: {function_type: 'remote',source: 'https://secure-caverns-90265.herokuapp.com/api/file'}},{ border: '15px_solid_coral' }]})
You should see something like this, although the date may differ because the date string is dynamically created when the function is run. If you run the request a second time, the date most likely will not change because the entire URL has been cached.

Look at the server code
We're using multer memory storage as middleware to capture the posted image. Then we call a transform function that gets the current date in string format and overlays it on the image. There is also some resizing. All of the transformations are part of the imagemagick library.
Post to Server
The image file is posted to Node Express server /api/file using multipart form input. Multer extracts the file from the post. The transform function is called and the transformed image is sent back to client as base64 encoded.
const storage = multer.memoryStorage()const upload = multer({ storage: storage })app.post('/api/file', upload.fields([{ name: 'file' }]), function(req, res) {return transform(req.files.file[0]).then(result => {// return the image and new metadata.…res.statusCode = 200res.headers = {'Content-Type': 'image/jpeg','Content-Length': result.length}res.isBase64Encoded = trueres.send(result)
Transform function
The “moment” library helps with date time calculations and formatting. The default is local server time zone is used. The transform function gets current date and time and creates a string. Custom arguments and temporary input file are passed to imagemagick transform function.
const moment = require('moment')...const transform = async file => {const date = moment().format('MMM Do YYYY, h:mm a')const customArgs = ['-resize','314x','-fill','blue','-draw', `text 5,15 'Date cached: ${date}'` ]let inputFile = nulllet outputFile = nullinputFile = '/tmp/inputFile.jpg'fs.writeFileSync(inputFile, file.buffer)customArgs.unshift(inputFile)outputFile = '/tmp/outputFile.jpg'customArgs.push(outputFile)try {const output = await perform('convert', customArgs)...
Deploy to heroku
You can find instructions online for deploying a JavaScript web API to heroku. You need to set up an account. You can add your Cloudinary credentials to the heroku server config settings. The Procfile required by heroku is already available in the course repo.